SharePoint
Last updated: October 12, 2026
The SharePoint integration connects Ivo Flow to your Microsoft 365 tenant so workflows can read from and write to SharePoint document libraries. It does not require a preliminary Setup phase. Once a Flow admin approves the integration for the workspace, any member can install it immediately by signing in with their own Microsoft 365 account. Each installation is tied to that individual account, so the connection sees exactly the sites, libraries, and folders that users can already access in SharePoint.
Installations are private to the person who created them by default. The owner can share an installation with the whole workspace, which lets other members build workflows on it, or switch it back to private, which disables any workflows other members had built on it. Once connected, workflows can list files, download or upload documents, and sync entire folders into an Ivo room while preserving folder structure. The File Changed trigger uses Microsoft Graph change notifications rather than a polling schedule, so workflows start within moments of a file being added, updated, or deleted in a watched folder.
Approve the SharePoint
Go to the Admin tab under Flow, click the ellipsis on the SharePoint card, and select Approve. If SharePoint isn’t visible in your workspace, contact the Ivo team to have it enabled.

Install the SharePoint
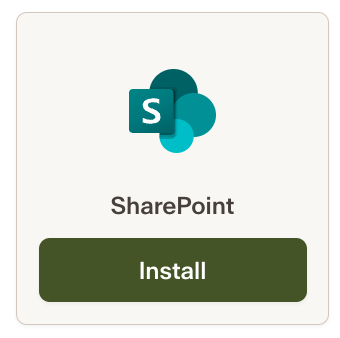
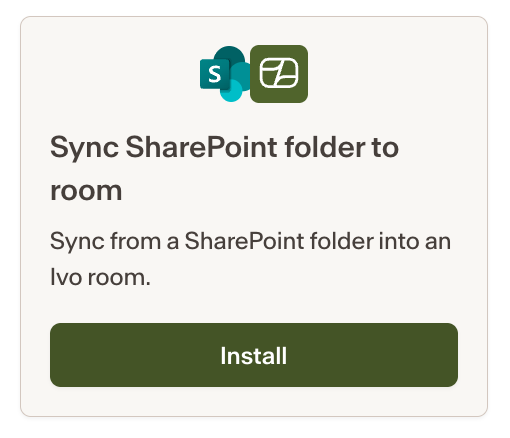
On the Accounts page, Click + Connect. Once the SharePoint is approved by your admin, this will be ready to be installed for your workspace. Click Install:
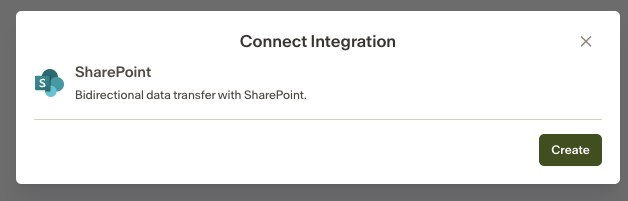
Click Create to complete the installation.
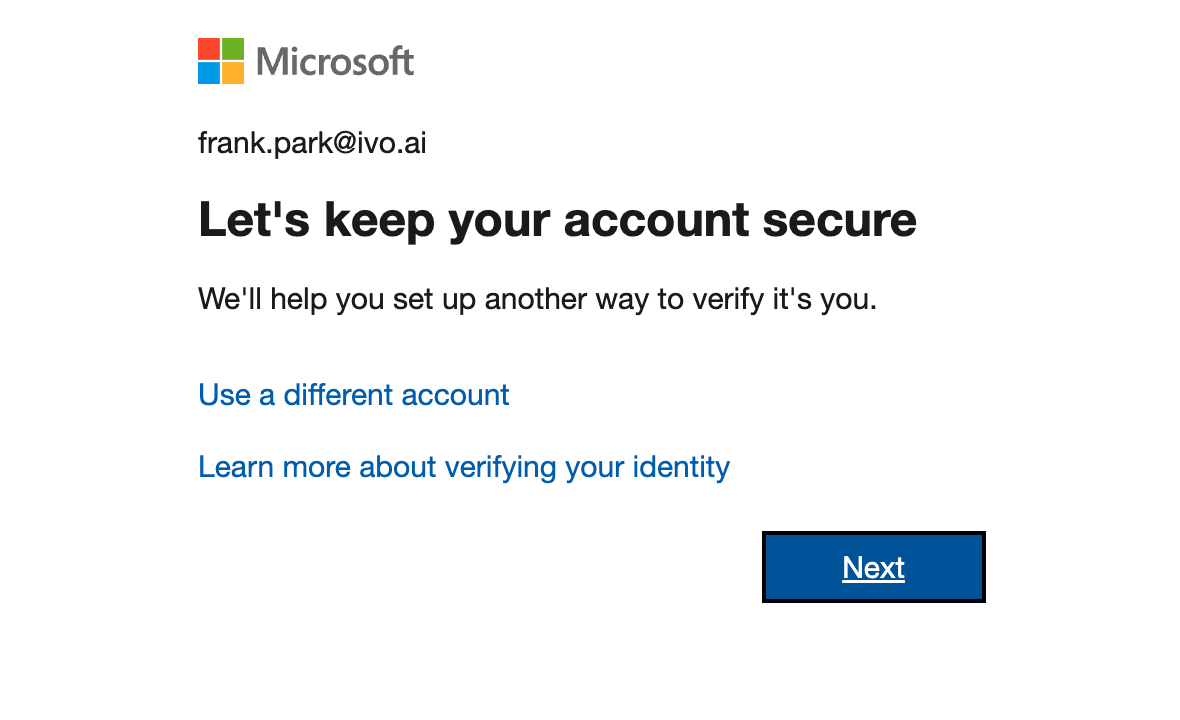
You may be prompted to sign in to SharePoint. Make sure you use the account you want to sync from, which may be different from your personal account. Once you have signed in, the Accounts tab should display the account you’re syncing from.

Install the SharePoint Template
On the Workflows tab, click + Create Workflow, then select the template you would like to use. By default, you should see the Sync SharePoint folder to room template. Select it and click Install.
Once you install this, the following screen will appear for you to configure:
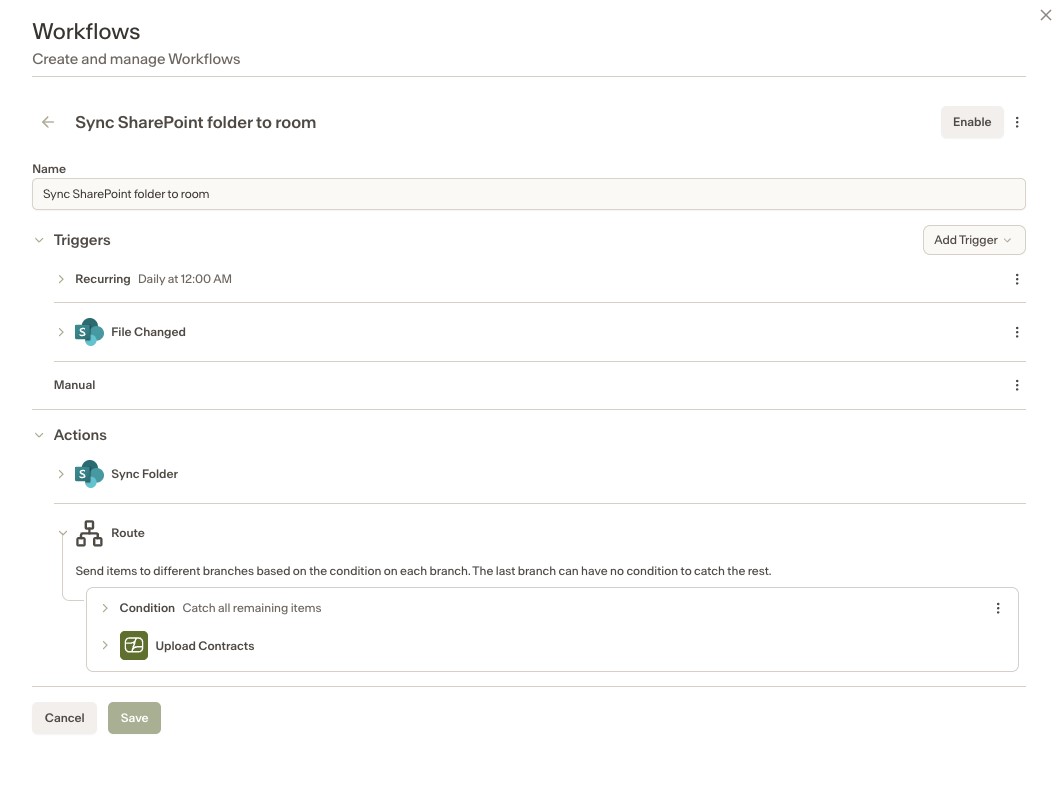
Set up Triggers
Workflows are started by triggers. Your new workflow comes with the template's default trigger; click Add Trigger to add other starting points (recurring schedule, manual, and so on) and edit each trigger to fit your needs.
In this walkthrough, let’s assume I want to set two triggers at this stage: manual and whenever a file changes in either of two specific SharePoint folders. Select the folders you want to monitor for changes to trigger this workflow:
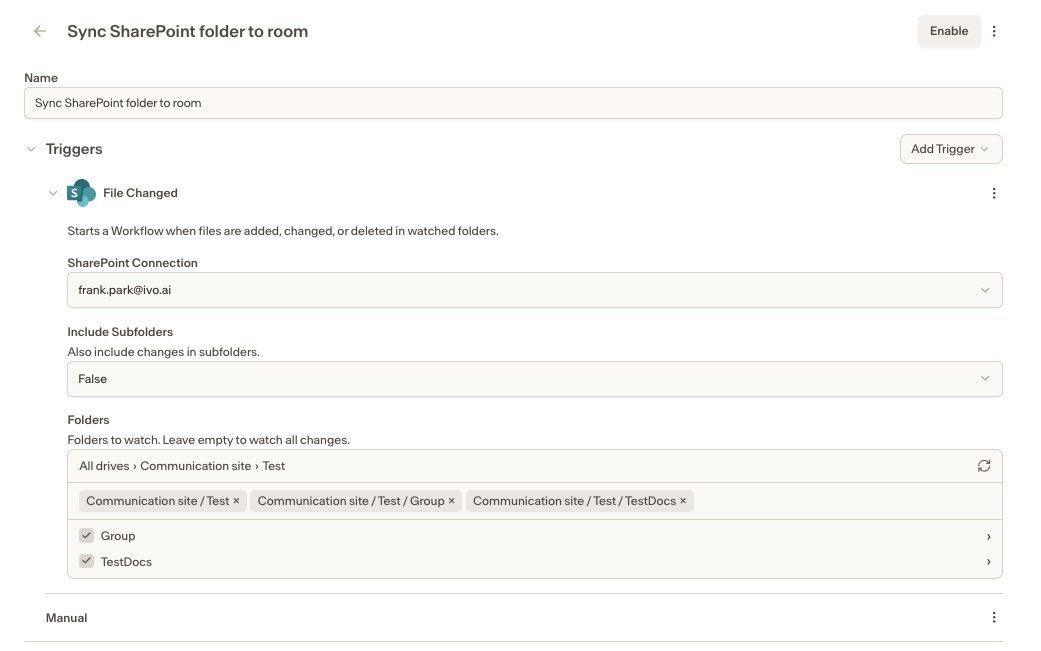
Configure the SharePoint step
Under Actions, select all relevant folders to sync existing files and automatically ingest new files going forward. Set Include Subfolders to True to include files in all subfolders. Set Only Updates to False will result in each run downloading every file in the selected folders, whether or not it has changed and set Only Updates to True will only download only files that are new, have been modified since the last run, or have been moved or renamed. Unchanged files are skipped.
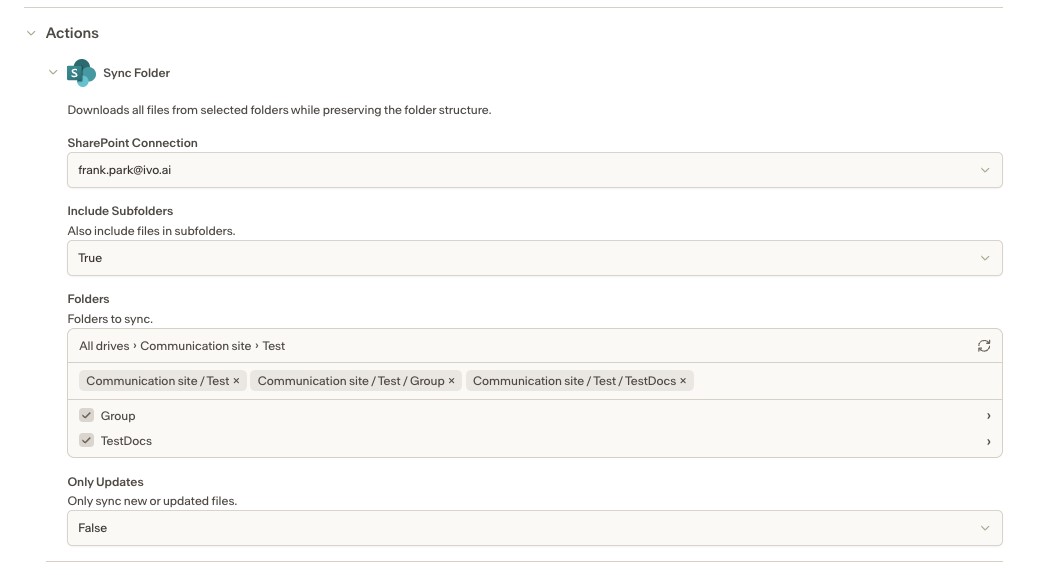
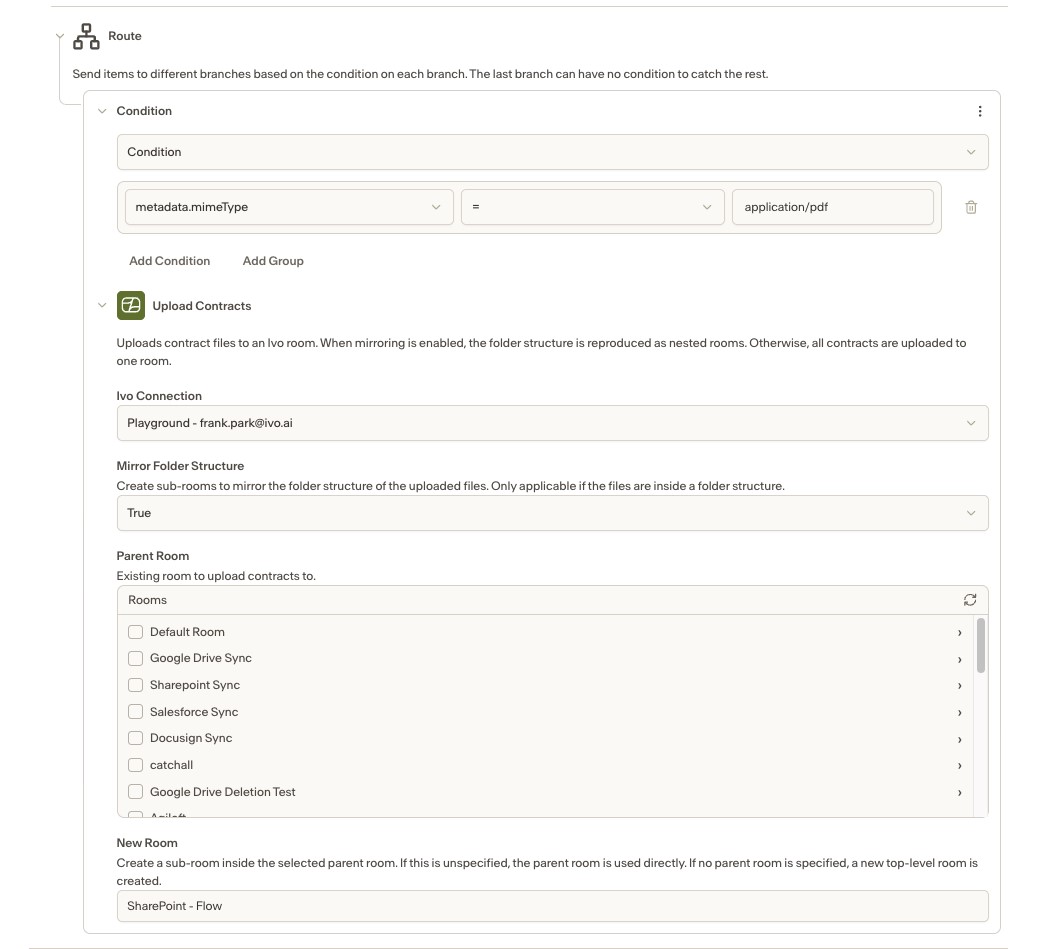
Configure the Ivo and Route step
Under Condition in Route, you can filter files using various criteria. In this case, the filter selects only files whose mimeType is application/pdf, so only PDF files are included. Set Mirror Folder Structure to True to replicate the SharePoint folder structure. Because no existing room was selected, a new room will be created at the parent-room level with the name specified below.
Save and Enable the Workflow
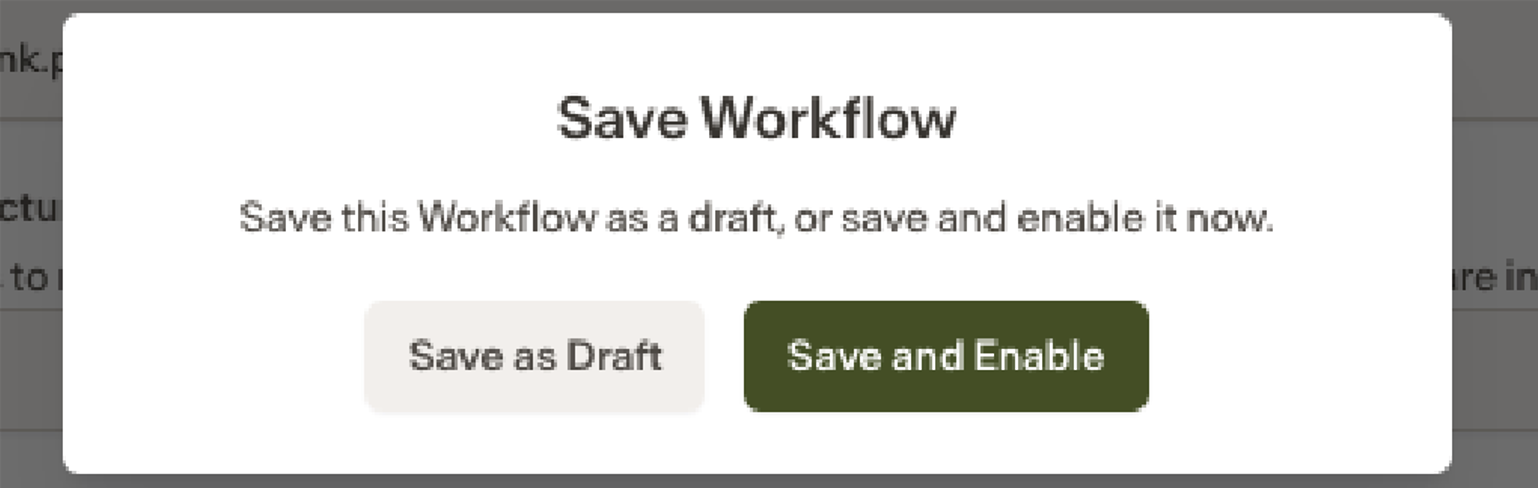
Hit Save and Click Save and Enable to activate the workflow and start its triggers. When you return to the workflow, the Run button will be available if you have configured a manual trigger. Once enabled, any supported document that meets your configured conditions (PDF documents in this case) will be ingested into the selected destination room.