Icertis
Last updated: October 8, 2026
Ensure Icertis integration is available
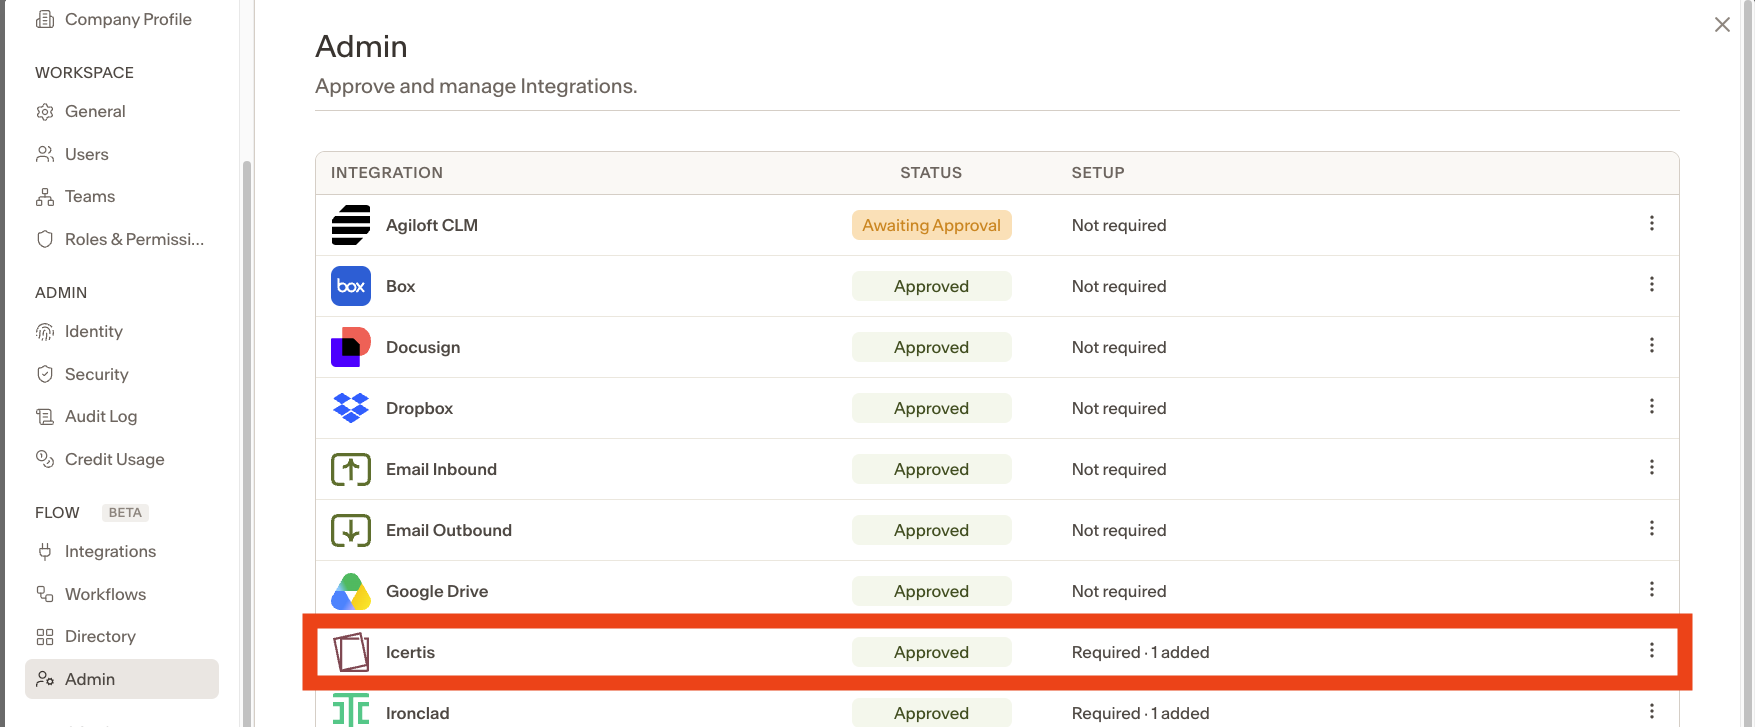
On the Admin tab, confirm that Icertis is available and ready to use in your workspace. If it isn’t listed, contact the Ivo team.
Setup the Connection
Click the ellipsis on the Icertis card, then select Setup.

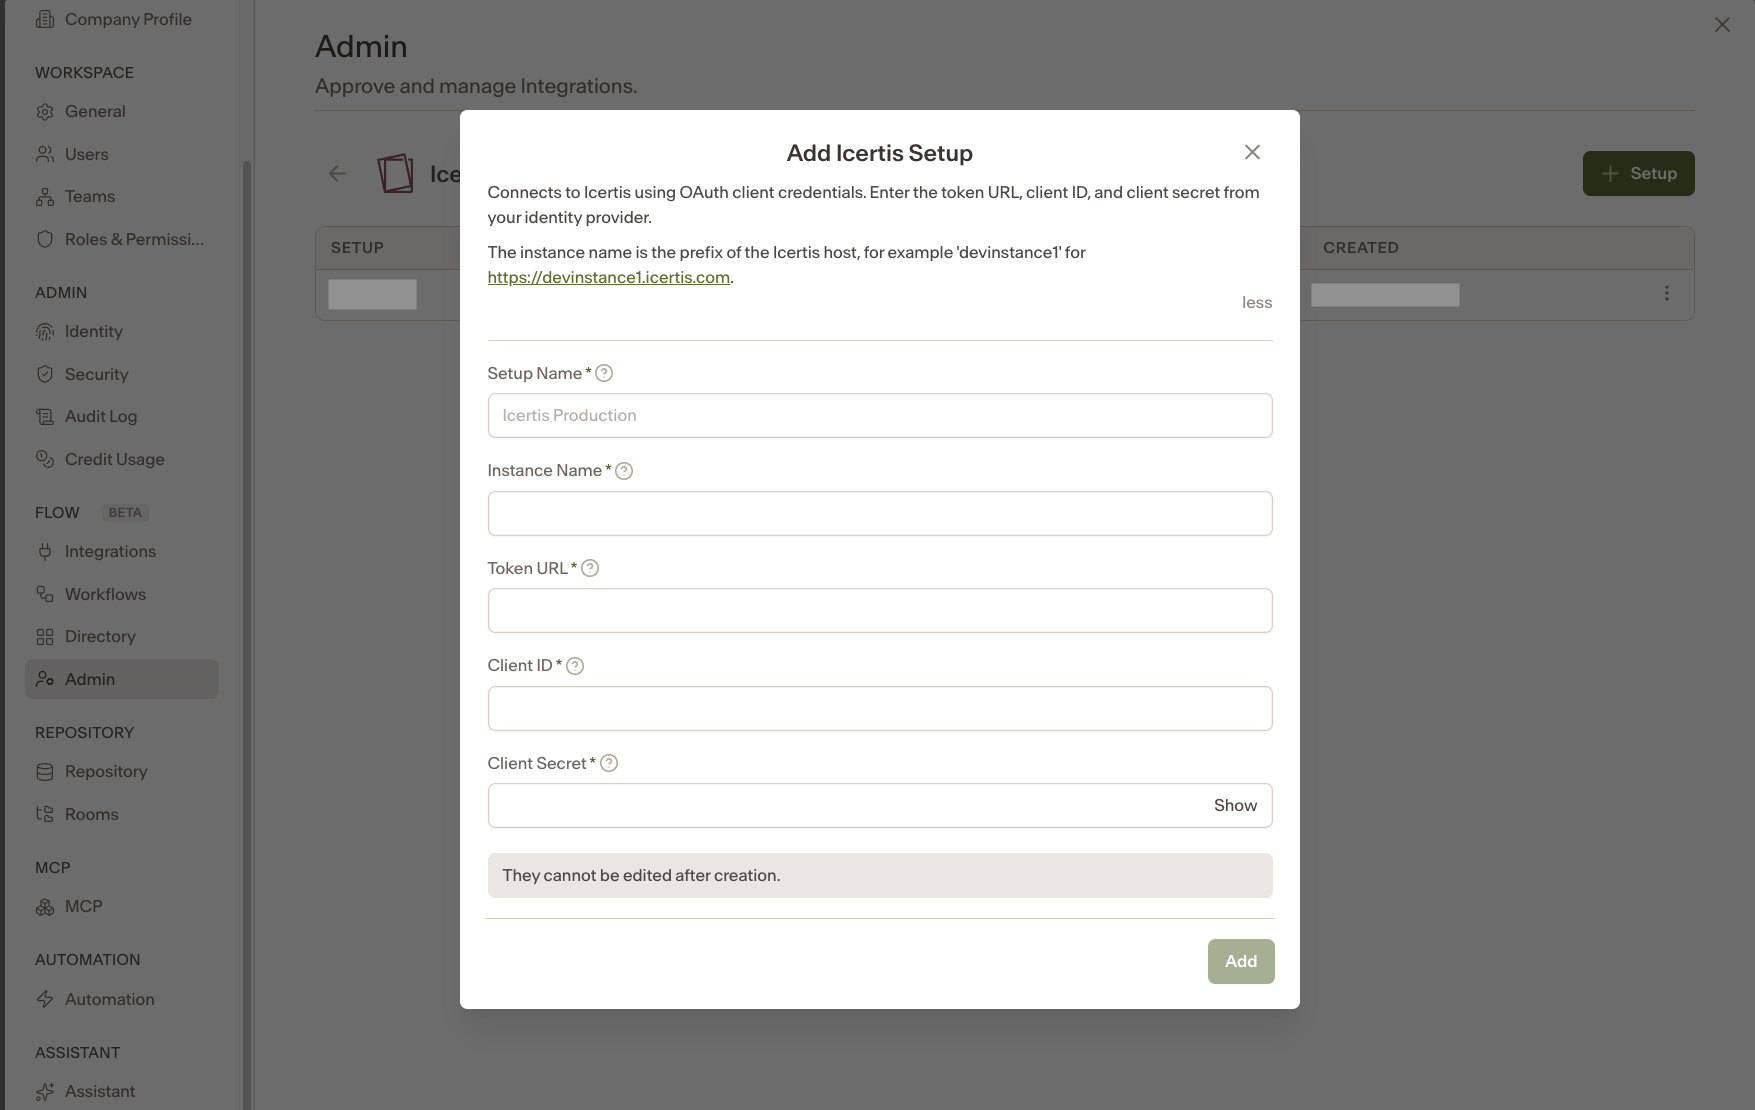
Click + Setup on the Admin page, then fill in the required information to set up the connection.
Install the Icertis integration
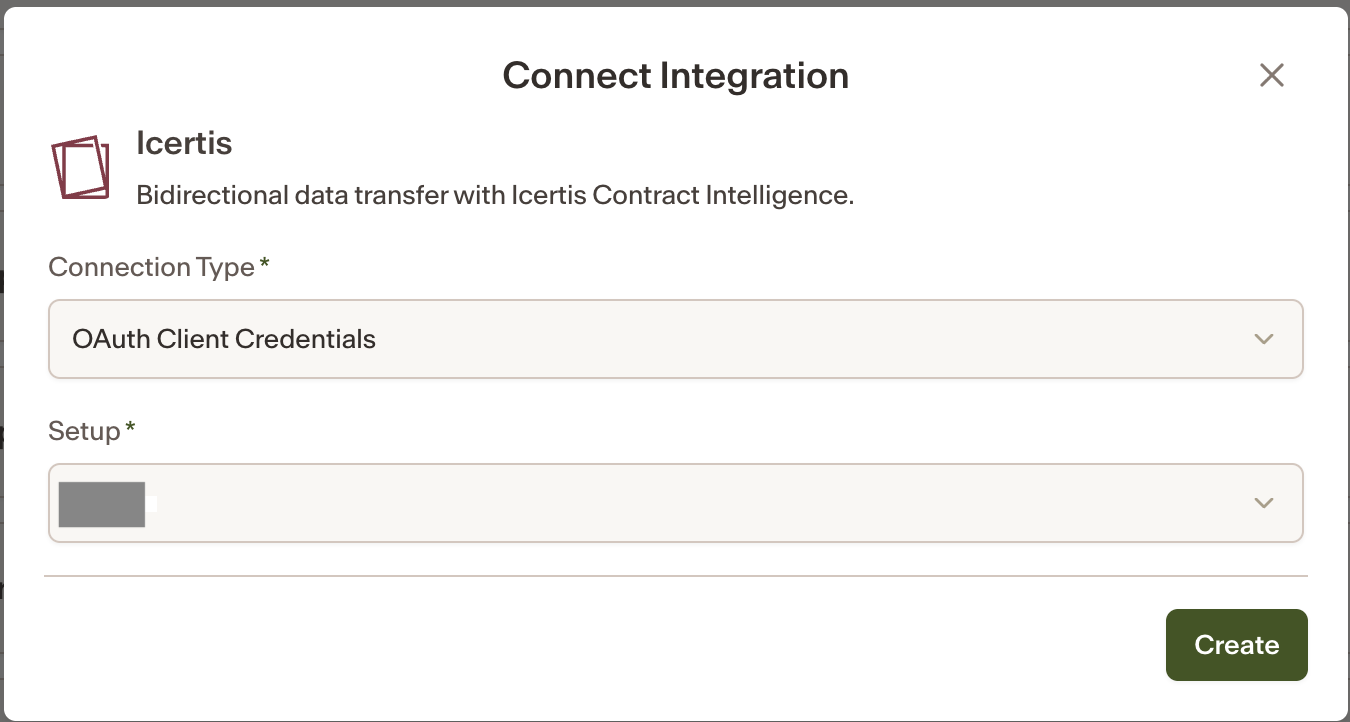
On the Integrations tab, click + Connect, install Icertis, and select the connection you set up in the previous step.
Check the Integration Created
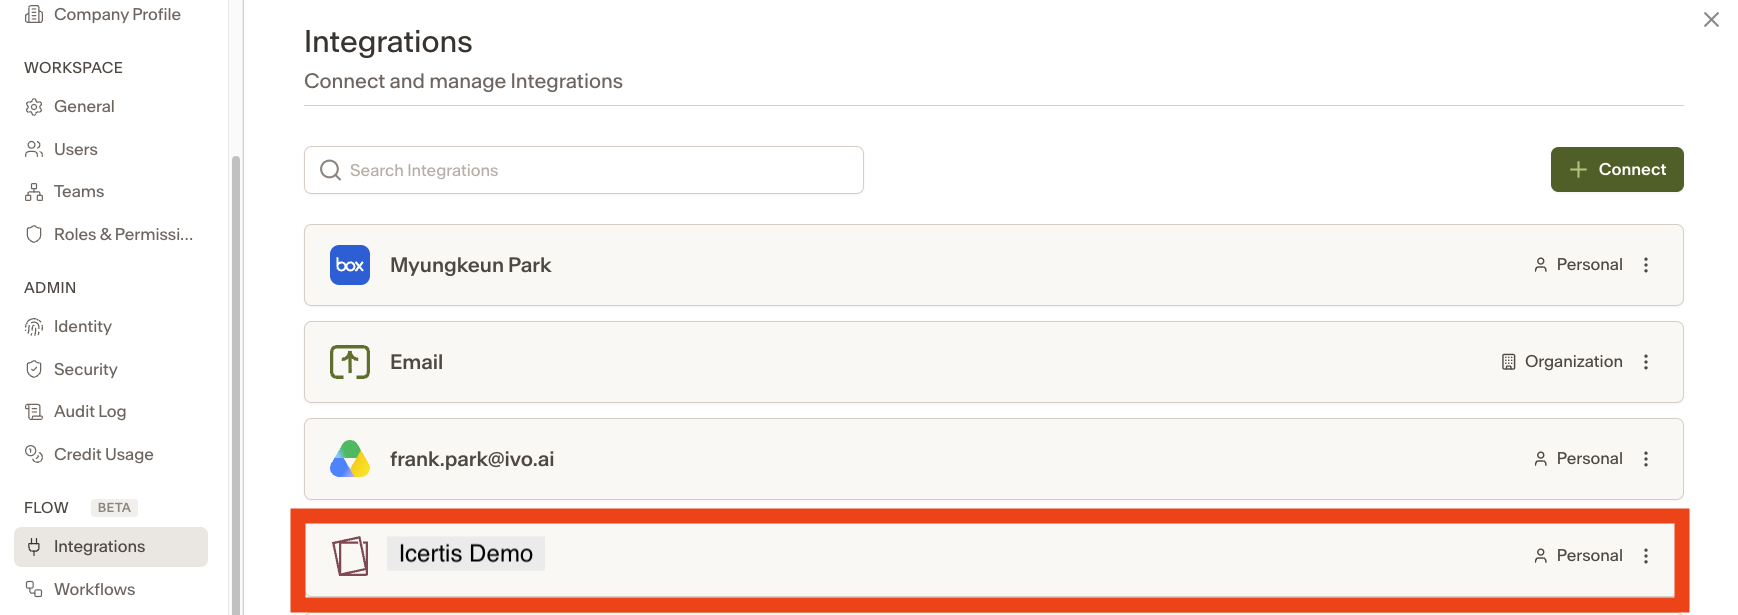
Go to the Integrations tab under Flow and confirm that the connection you just created is listed.
Create the workflow from a template
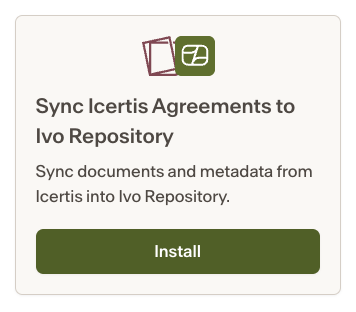
On Workflows tab, click + Create Workflow to open the template gallery, which shows the workflow templates available to your team: for example, “Sync Icertis Agreements to Ivo Repository" and hit Install.
Set up Triggers
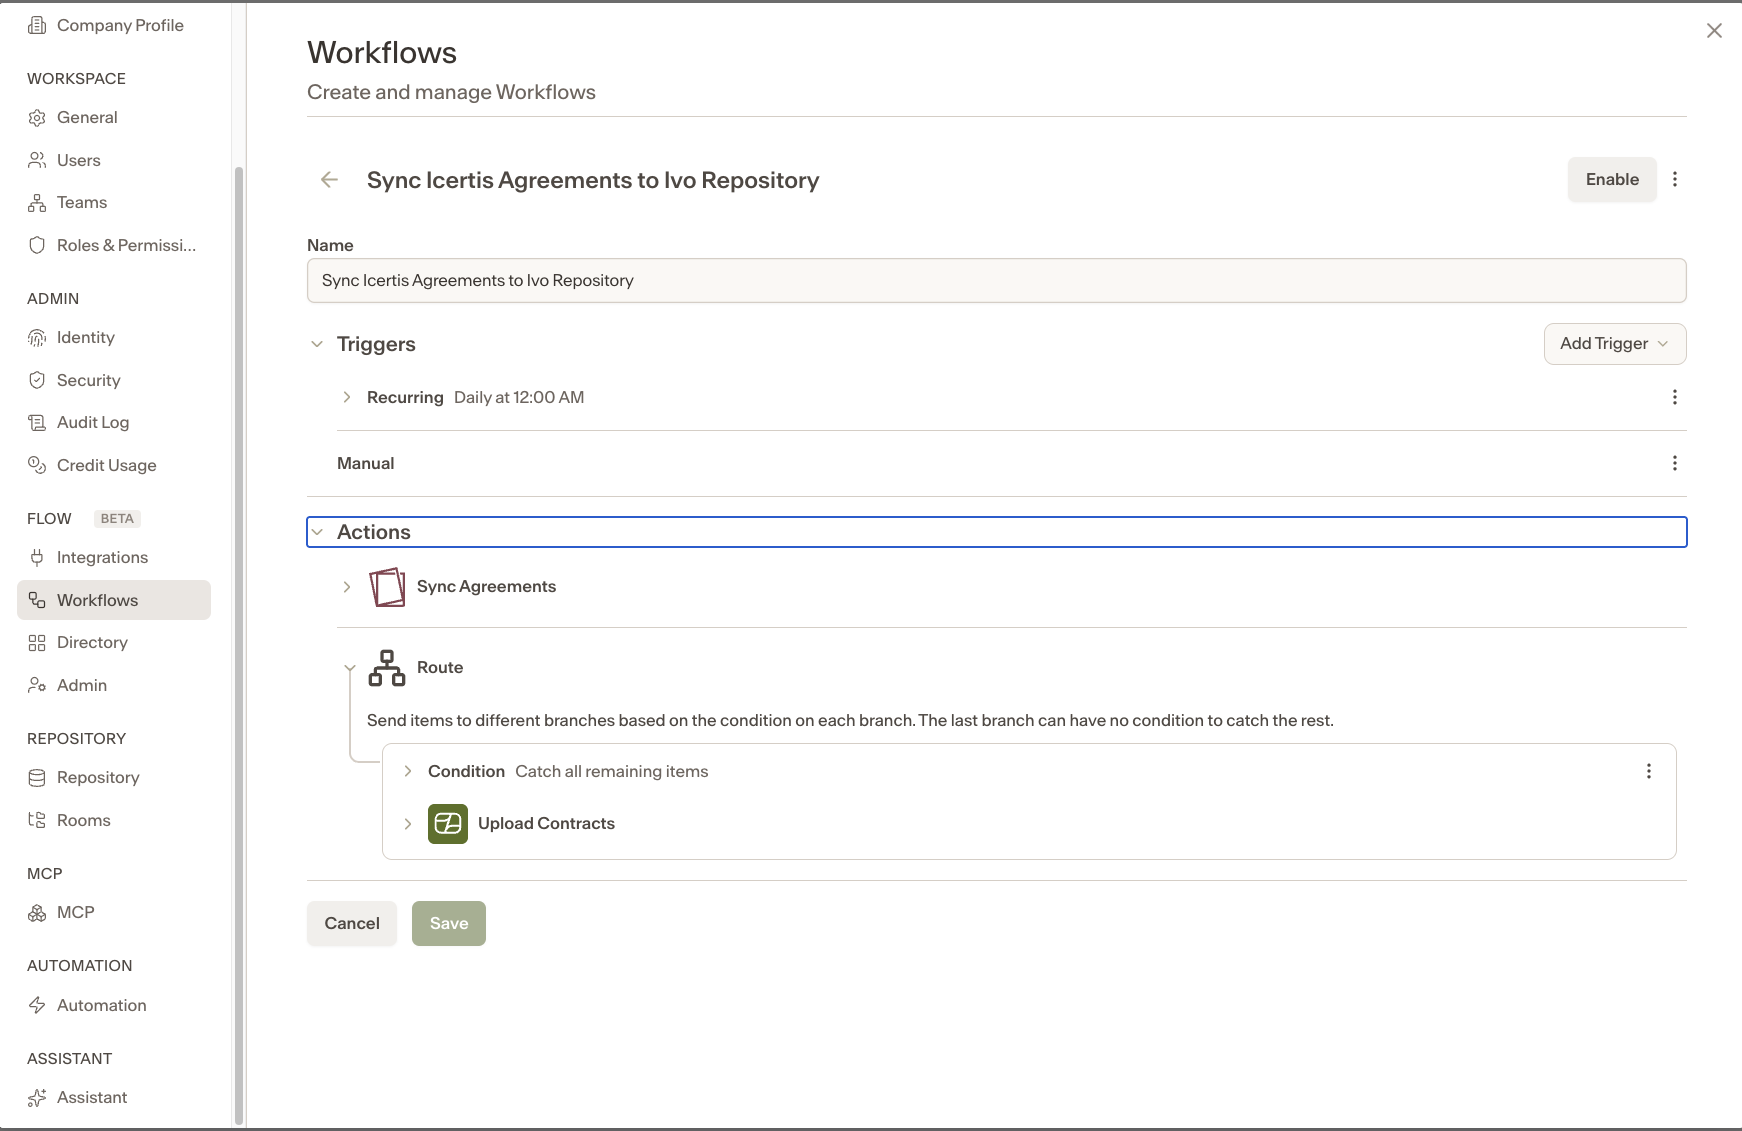
Workflows are started by triggers. Your new workflow comes with the template's default trigger; click Add Trigger to add other starting points (recurring schedule, manual, and so on) and edit each trigger to fit your needs.
Configure the Icertis step
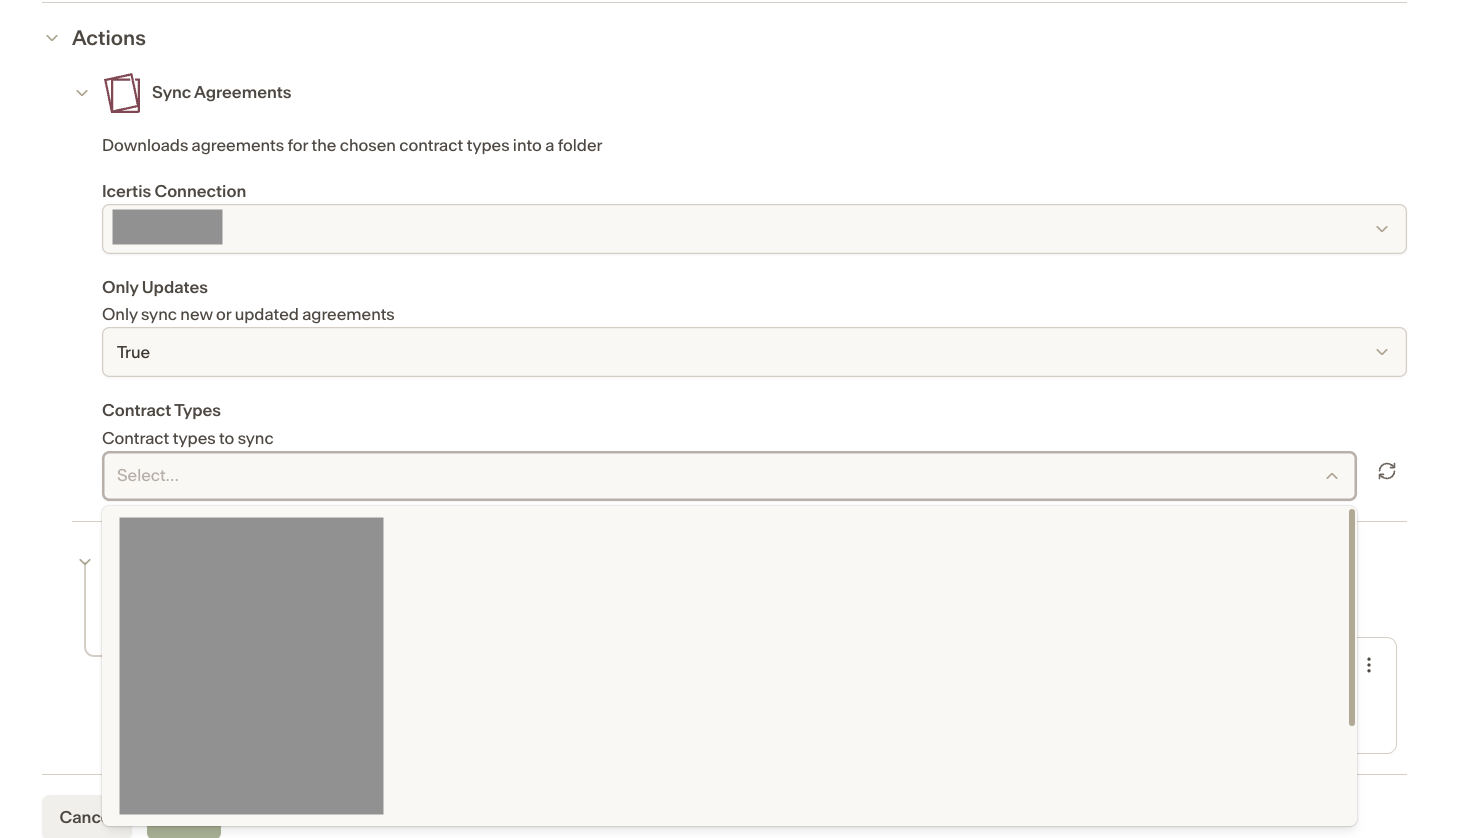
Actions are where the work happens. Ensure Connection field has the Icertis environment you want to connect to, and select listed Contract Types from Icertis to sync from.
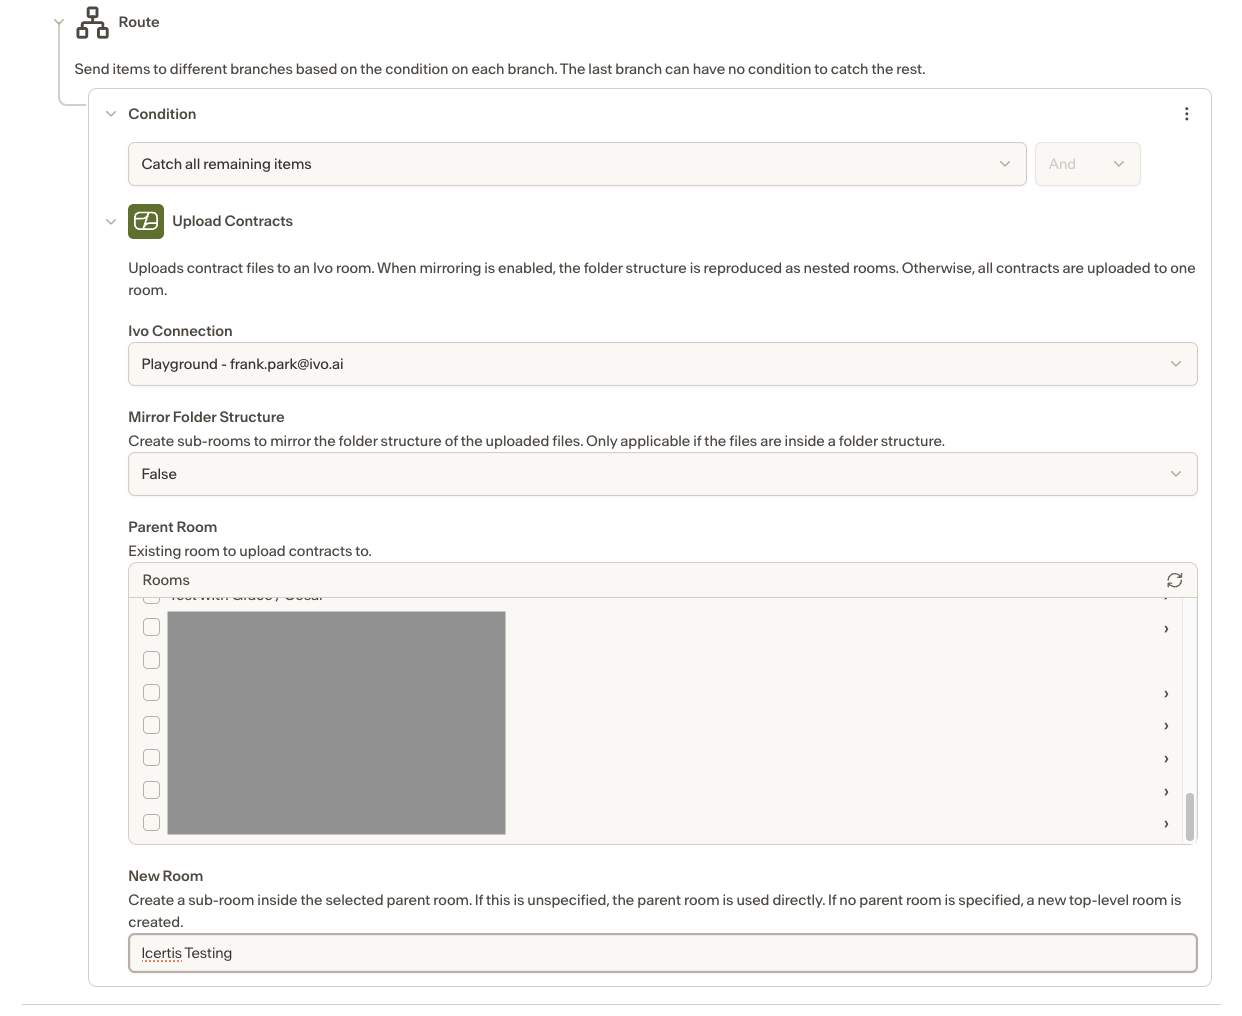
Configure the Ivo and Route step
The template's Route action filters the files you need based on the conditions you set, and the Ivo action uploads the files from the previous step into your workspace. As with any action, select your Ivo connection, adjust the settings as needed, and choose the destination room, or create a new room to receive the files.