Navigating Flow
Last updated: October 12, 2026
Flow lives in your workspace settings. In the Ivo web app, open Settings and look for the Flow section (currently labeled Beta) in the sidebar.
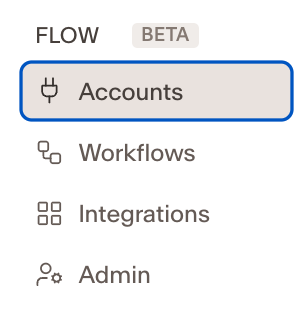
The Flow section contains up to four pages:
Page | What it's for |
Accounts (formerly Integrations) | Connect and manage Flow integrations. See the integrations connected in your workspace, add new connections, share an installation with the workspace or make it private, and configure or remove existing ones. |
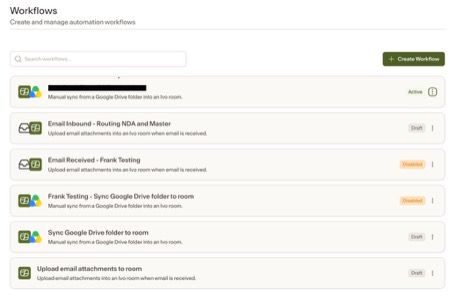
Workflows | Create and manage automation workflows. View your workflows and their run history, enable or disable them, and run them manually. |
Integrations (formerly Directory) | Browse available Flow integrations. Each listing shows the integration's triggers (events that can start a workflow) and actions (steps a workflow can perform) and lets you install approved integrations. |
Admin | Visible to Flow admins only. Approve integrations for the workspace; members can connect an integration only after it has been approved. |
Please note: Some walkthroughs and screenshots may refer to Accounts as Integrations, and Integrations as Directory.
Don't see the Flow section?
Your role doesn't include Flow access. Ask your workspace admin to grant it.
Admin page
Please note that this page is visible to Flow admins only (Workspace Owners and Workspace Admins).
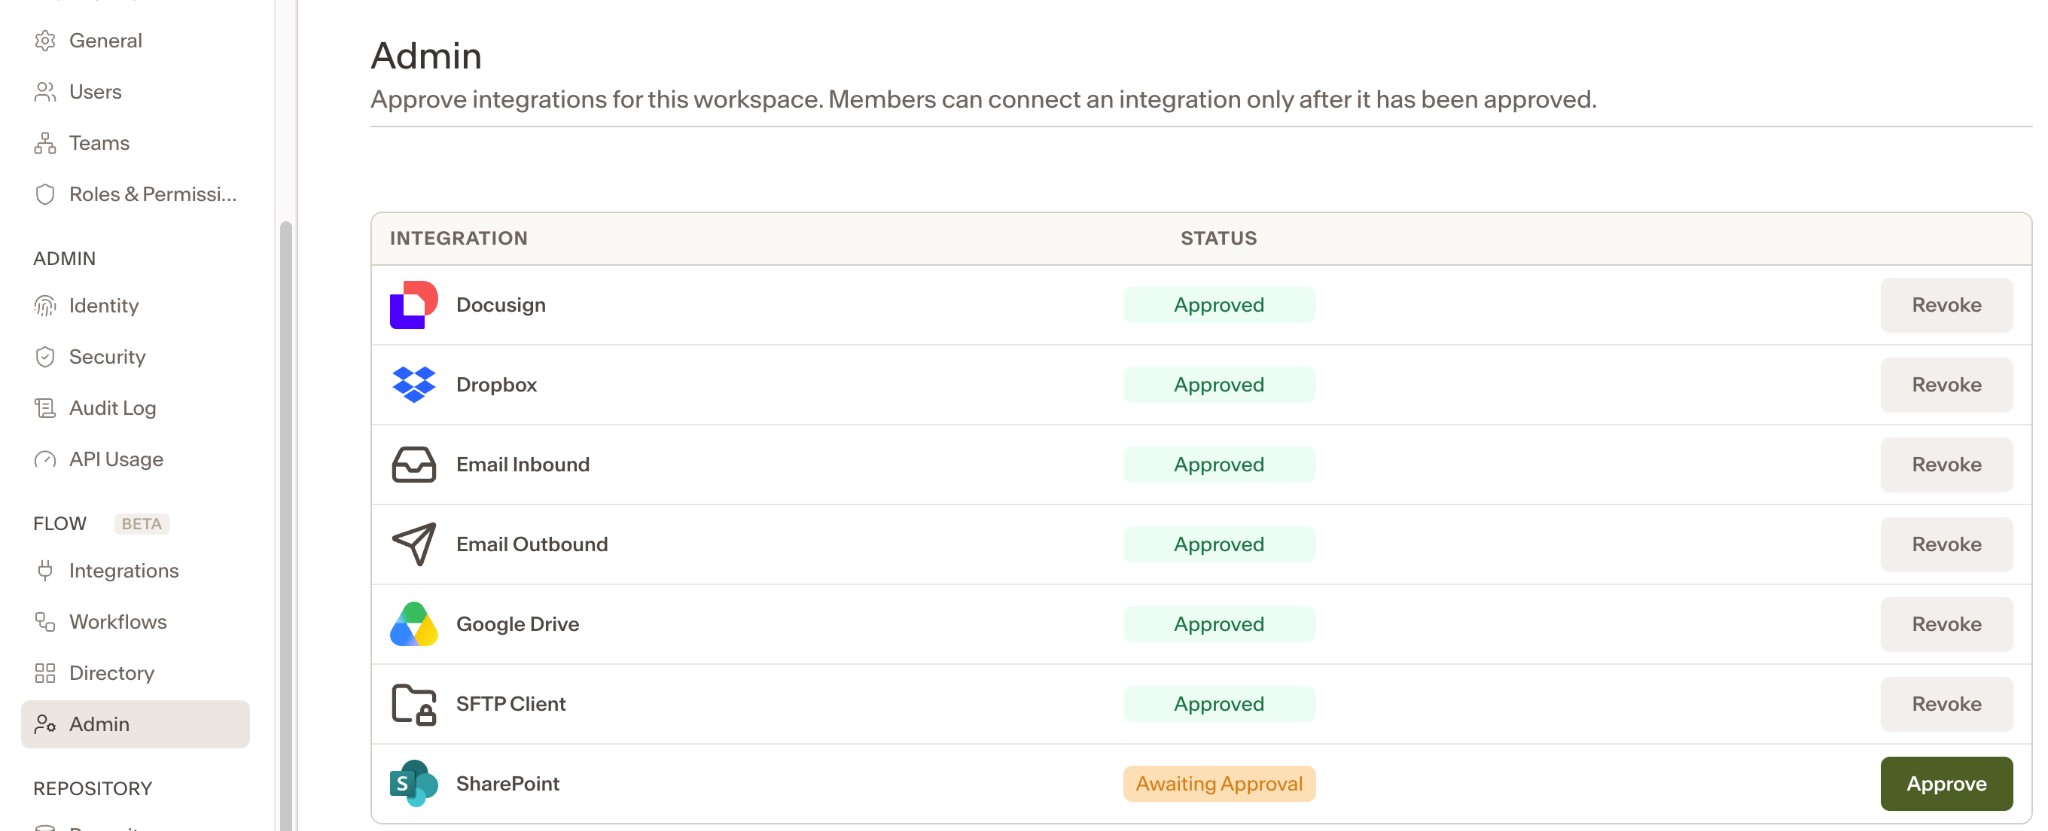
The Admin page lists every integration the Ivo team has enabled for your workspace, each with its status:
Status | What it means |
Awaiting Approval | Enabled for your workspace but not yet approved. Members can see it in the Integrations but can't install it. |
Approved | Approved by a Flow admin. Members can now install and connect it. |
Official | Provided by Ivo and always enabled. Official integrations don't need approval and can't be revoked. |
Note for Flow admins
Approval controls what members can install. As a Flow admin you can install any enabled integration immediately, even one still marked “Awaiting Approval”. Approve it when you want the rest of the workspace to connect it too.
Integrations page
The Integrations lists all integrations available to your workspace.
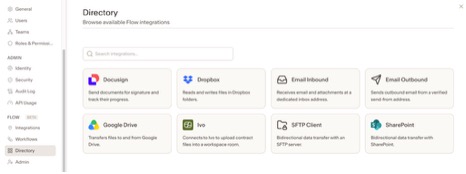
Click an integration to open its detail page, which shows what it can do in a workflow:
On the detail page | What it means |
Triggers | Events that can start a workflow (for example, “File Changed” or “Message Received”). |
Actions | Steps a workflow can perform (for example, “Send for Signature” or “Upload Contracts”). |
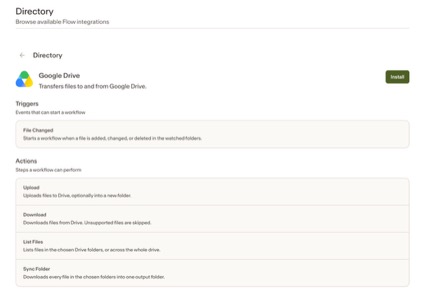
Click Install to connect the integration. A connection dialog opens to collect the required credentials (such as an account sign-in or API key) and once connected, you're taken to the Integrations page, where your new installation appears and can be managed.
A few things you may notice while browsing:
• Awaiting Approval: The integration is available but hasn't been approved yet, so the Install button is disabled. Ask a Flow admin to approve it on the Admin page.
• Flow admins can always install. Approval controls what members can install; as a Flow admin you can install any enabled integration immediately, even one still marked “Awaiting Approval”.
Integrations page
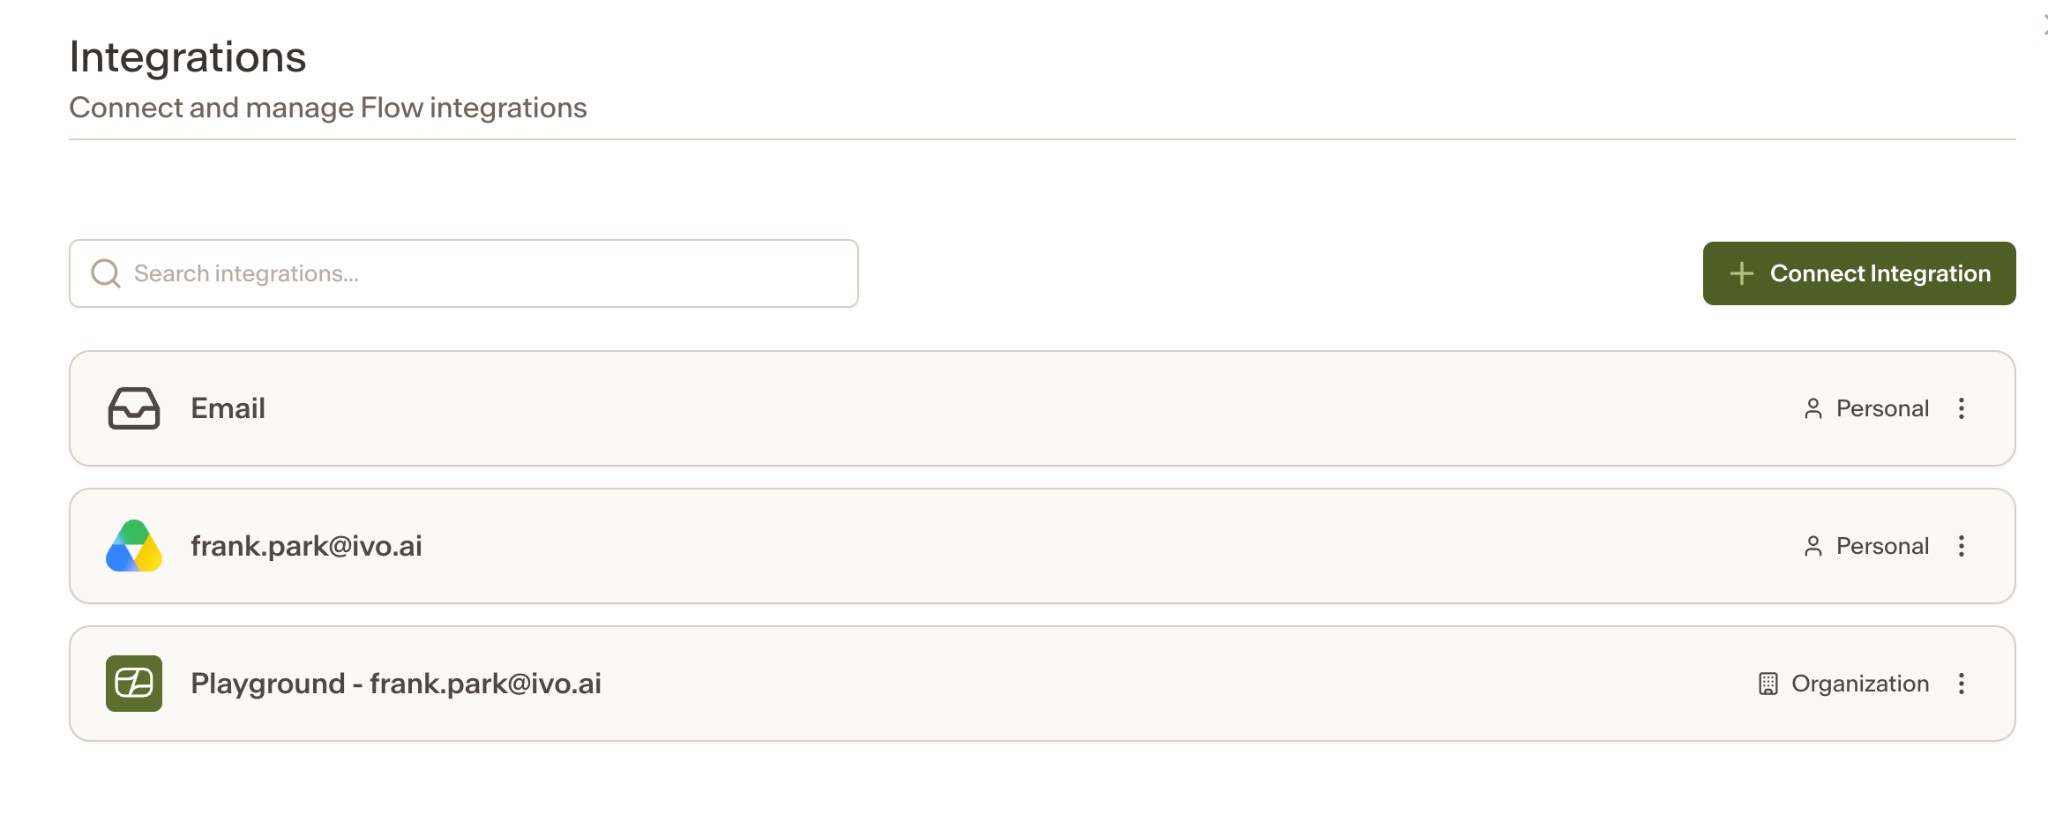
This page shows the connections (installations) that have been made in your workspace: your own, plus any shared with the organization.
Connecting an integration
Step | Action |
1 | Click + Connect Integration and pick the integration you want from the list (or start from its Integrations detail page and click Install: both paths lead to the same connection dialog). |
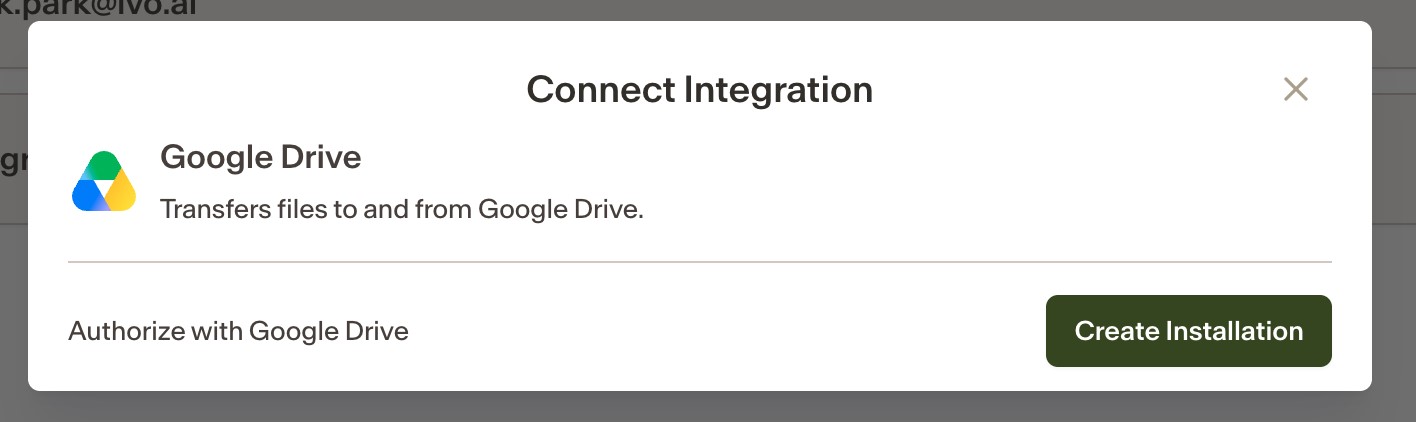
2 | Fill in the connection details and click Create Installation. |
3 | For integrations that use account sign-in (like Google Drive or SharePoint), a sign-in window opens: sign in with the account you want Flow to use. |
Choose the connected account deliberately
Workflows act with the access of the account you connect, e.g. reading files from a folder to ingest them into Ivo. Flow can only reach what that account can reach, so make sure the account (whether a personal account or a dedicated service account) has been granted access to the resources your workflows need: for example, the Google account must have access to the Shared Drive you plan to sync.
A dedicated service account is often the better choice for team workflows, since access doesn't depend on one person's account.
Sharing a connection
Visibility | What it means |
Personal (default) | Only you can see it and use it in workflows. |
Organization | Available to everyone in your workspace with Flow access. |
A new installation is marked Personal. To let others use it, click the ⋮ menu on the installation and choose Make Public: it becomes marked Organization. The same menu lets you Configure the connection or Delete it.

Two cautions
Making a shared installation private again disables any workflows owned by other users that use it, and sharing it again later won't restore those workflows.
Deleting an installation disables any active workflows using that connection.
Workflows page
The Workflows page shows your workflows, each in one of three states. Only Active workflows run.
State | What it means |
Active | Enabled; its triggers are live and runs will start. |
Draft | Being set up; it won't run until enabled. |
Disabled | Turned off; triggers won't start new runs. |
Workflows are personal
A workflow is visible only to the person who created it (plus Ivo Workspace support, who can help manage workflows on your behalf). Sharing happens at the installation level, not the workflow level: teammates with access to a shared connection build their own workflows on top of it.