Email Inbound
Last updated: September 25, 2026
The Email Inbound assigns a unique, dedicated email address to every workflow. Any incoming message delivered to this address triggers the automation, passing fields and files from the email as output for subsequent actions, such as automatically ingesting attachments into a designated Ivo room.
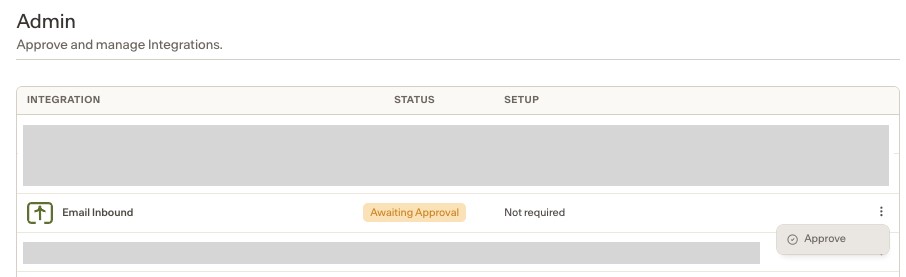
Approve the Email Inbound
On the Admin page, make sure Email Inbound is available for an Admin to approve. If this option is not available in your workspace, please contact the Ivo team to have it enabled. Approve the Email Inbound Integration:
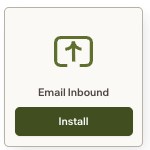
Install Email Inbound
On the Integrations page, Click + Connect. Once the Email Inbound is approved by your admin, this will be ready to be installed for your workspace. Click Install:
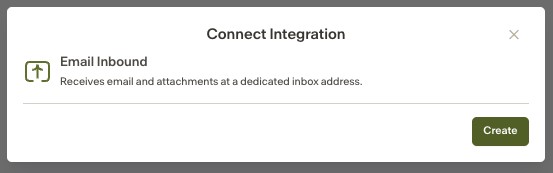
Click Create to complete the installation:
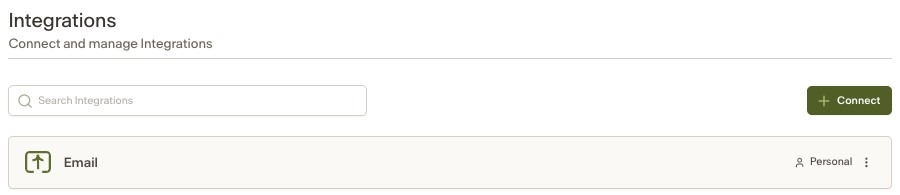
Once Email integration displays, this shows we are ready to set up Email Inbound workflow:
Install Email Inbound Template
On the Workflows page, click + Create Workflow, then select the template you would like to use. By default, you should see the Upload email attachments to room template. Select it and click Install.
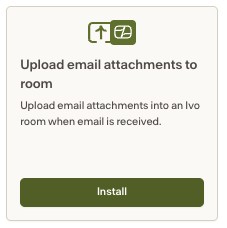
Once you install this, the following screen will appear for you to configure:
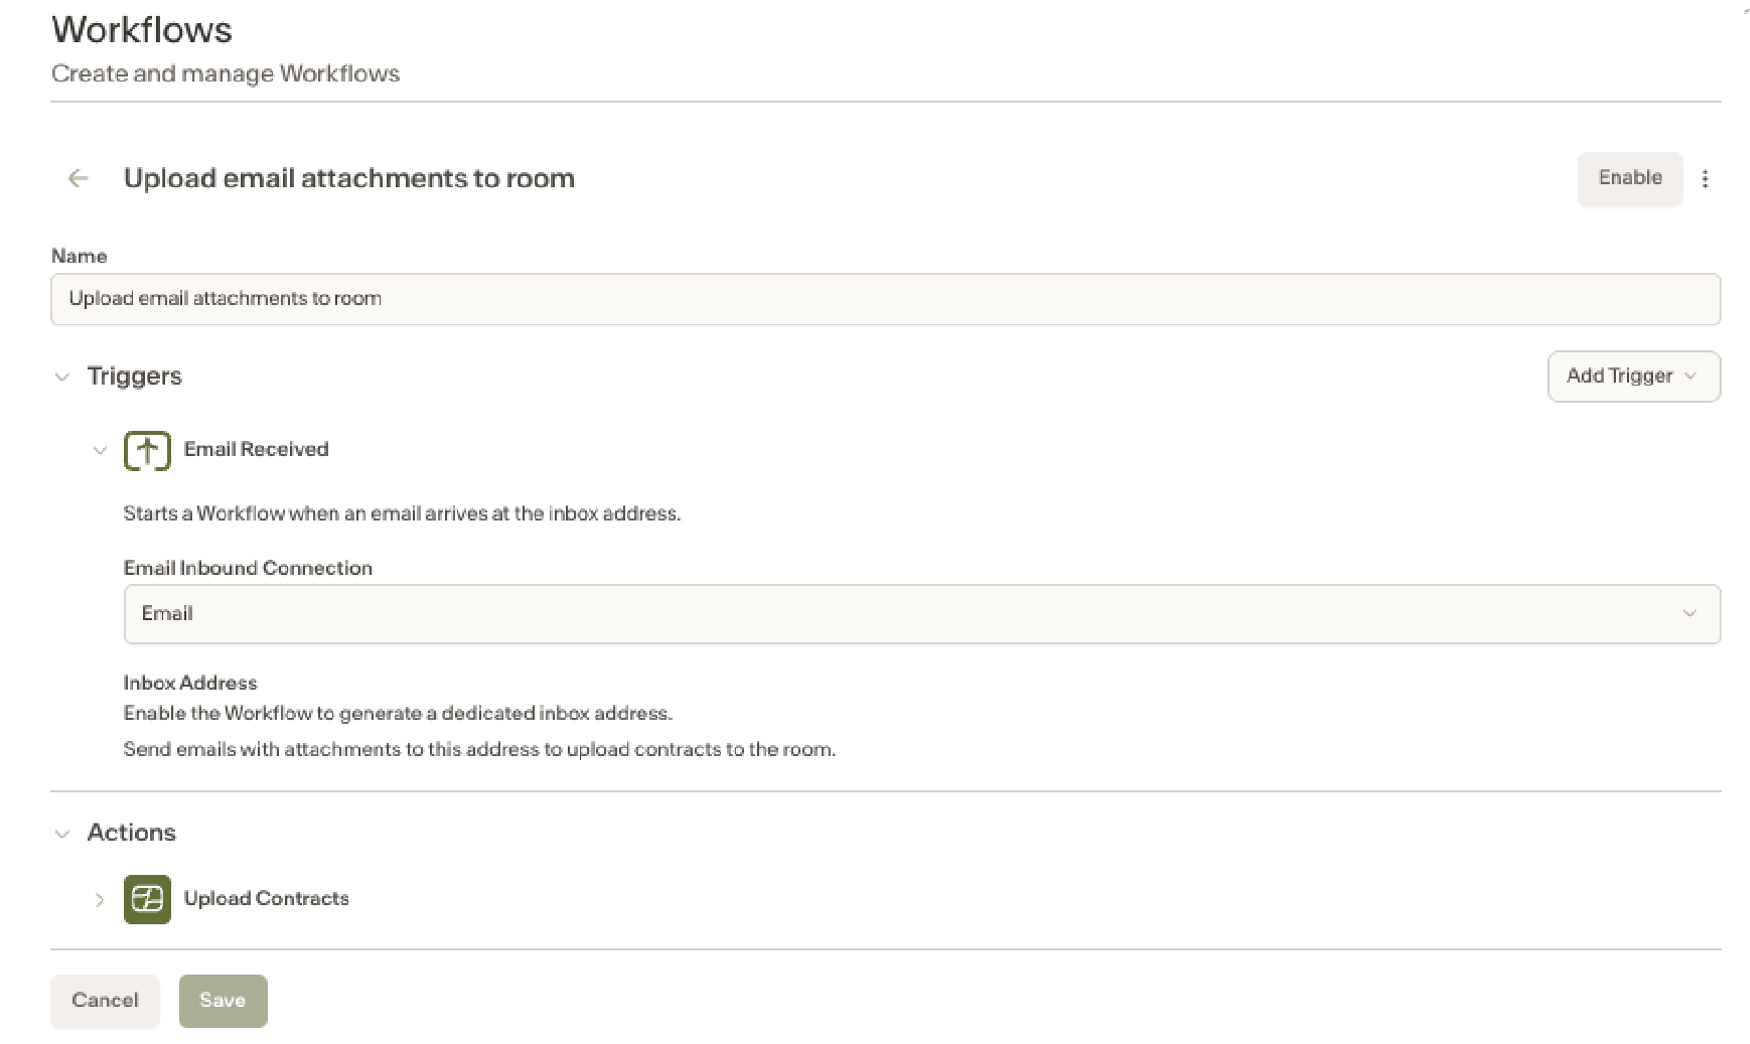
Enable the Workflow and Continue with Triggers and Actions
Enable the workflow, and an Inbox Address (that ends with @flow.ivo.ai) specific to that workflow will be created for you to send documents to:

Configure the remaining steps in the workflow to meet your requirements. Once the workflow is enabled and you send an email with an attachment, any supported document that meets your configured conditions will be ingested into the destination room you selected. The ingestion will also appear under the workflow run, as shown below:
