Adding/Removing Users in your Workspace
Last updated: June 4, 2026
To manage users in a workspace, you must have the Admin or Owner role. Note that user provisioning capabilities may vary depending on your account configuration. If you do not see the options described below, contact your Customer Success Manager or email support@ivo.ai to have users added to your workspace.
To add or remove users, go to app.ivo.ai, then navigate to:
Settings → Workspace → Users.
Inviting New Users
To create a new user:
Go to the Users page.
Click Invite New Users in the top-right corner.

3.Enter the required information:
Full Name
Email Address
Teams (if applicable)
Roles
Review Access will auto populate based off selected role.
Click Send Invites.

Once the invitation is sent, the user will appear in your workspace list.
User Account Setup
The invited user will receive an email with instructions to join the workspace.
From the email, they can:
Accept the invitation
Create their login credentials
Access the workspace
After completing setup, they will have access based on the role and permissions assigned to them.

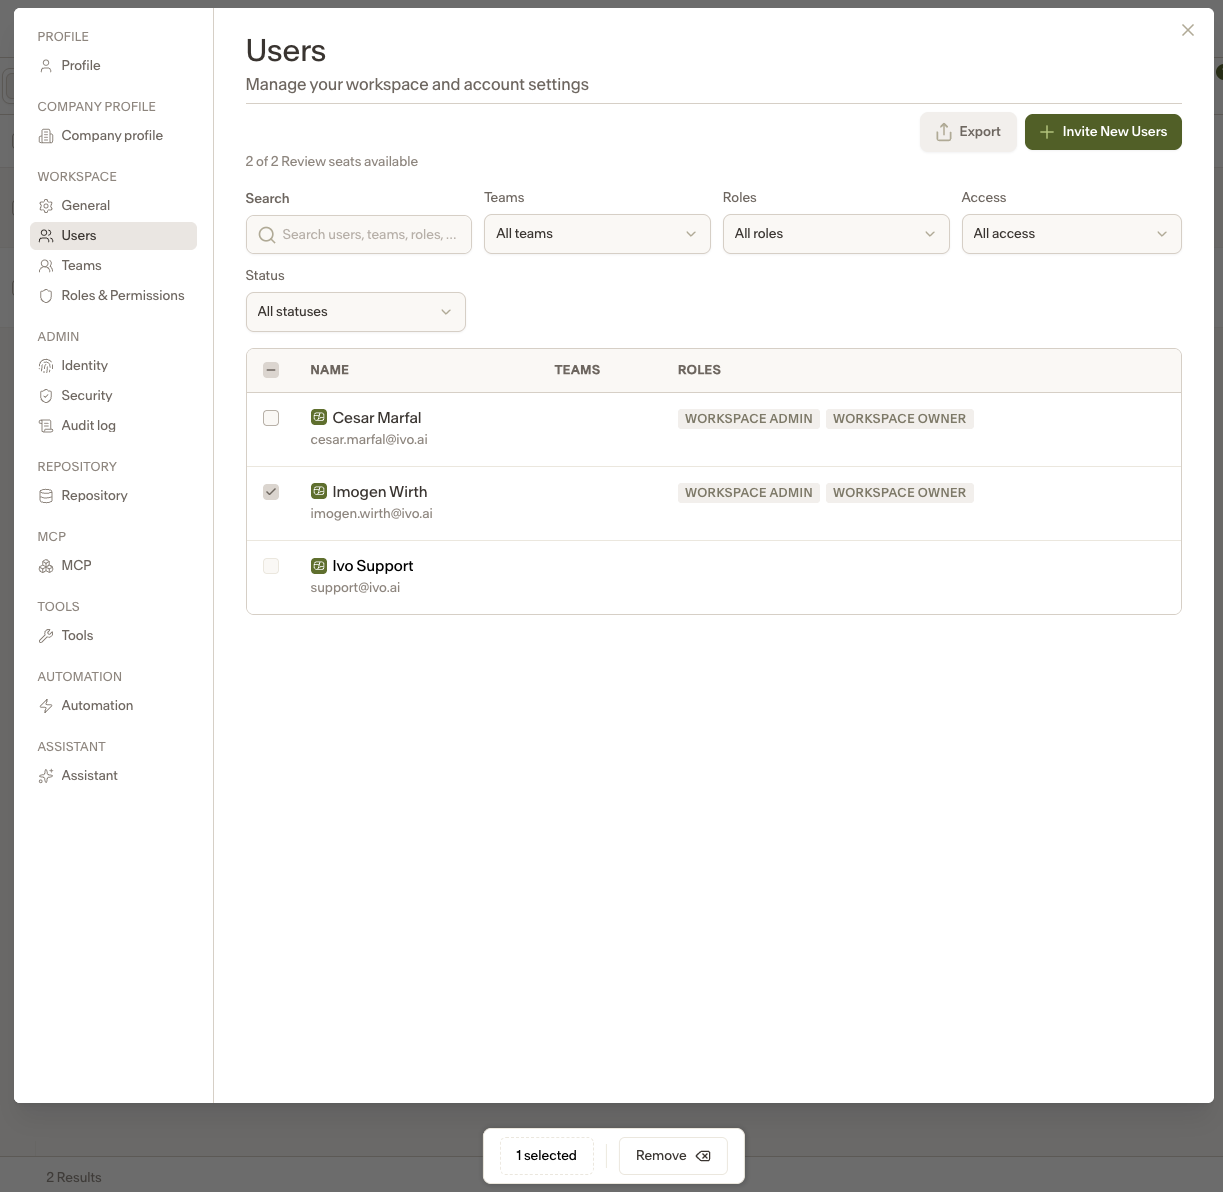
Removing Users from Your Workspace
To remove a user’s access:
Select the checkbox next to the user’s name.
Click Remove at the bottom of the screen.
Confirm the removal.
The user will immediately lose access and be removed from the workspace.
If needed, you can re-invite them at any time.